Showing posts with label Scraps 2026. Show all posts

Tuesday, 18 August 2026

Rainbow Strippy Group Quilt

As I have previously mentioned, I have joined in with Betty’s merry band making blocks for group donation quilts each month. 

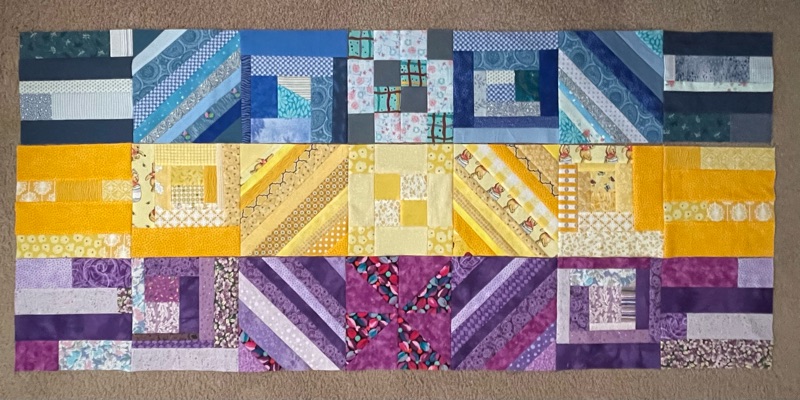
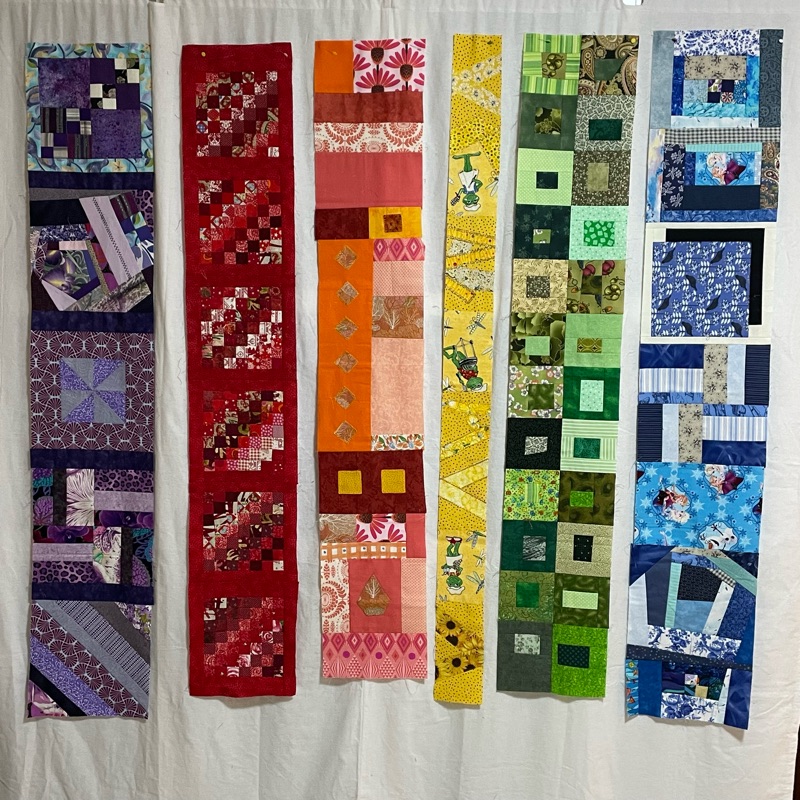
For the first half of this year the brief was slightly different, in that each month we were to make a strip in a colour of the rainbow.  

Here are mine.

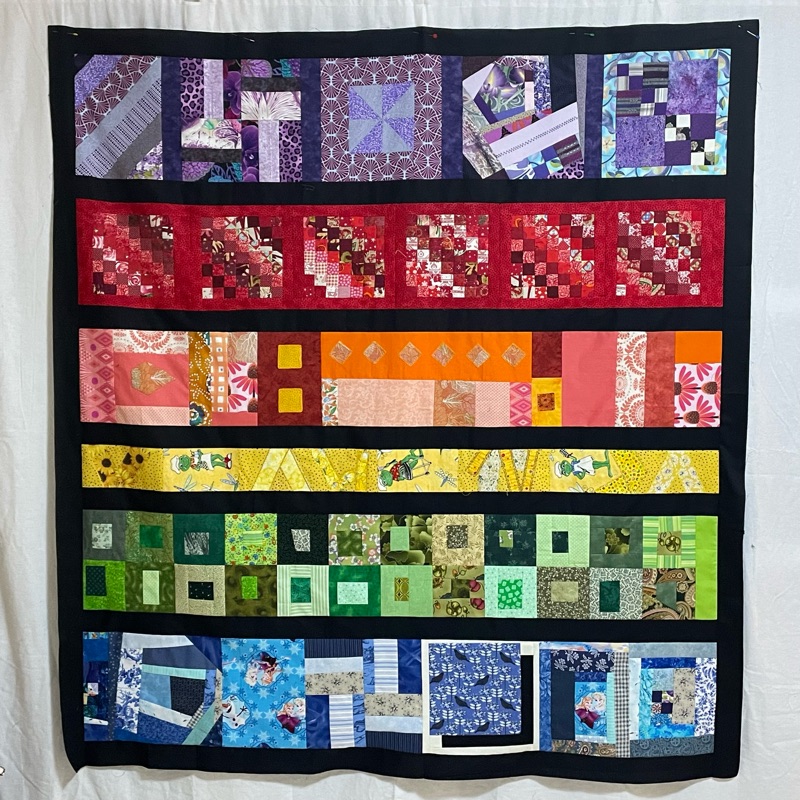
Once all the coloured strips were completed and returned to Betty, she mixed them up and sent strip sets out to each of us to make into a quilt top.  Some were very creative and clever.

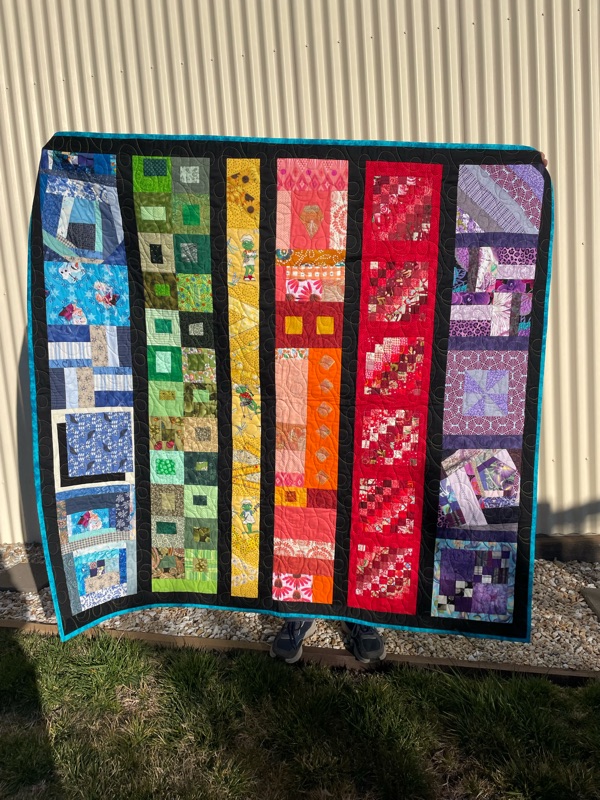
I finally got around to joining the strips I received into this flimsy.  Not very creative, but I think it is rather striking.

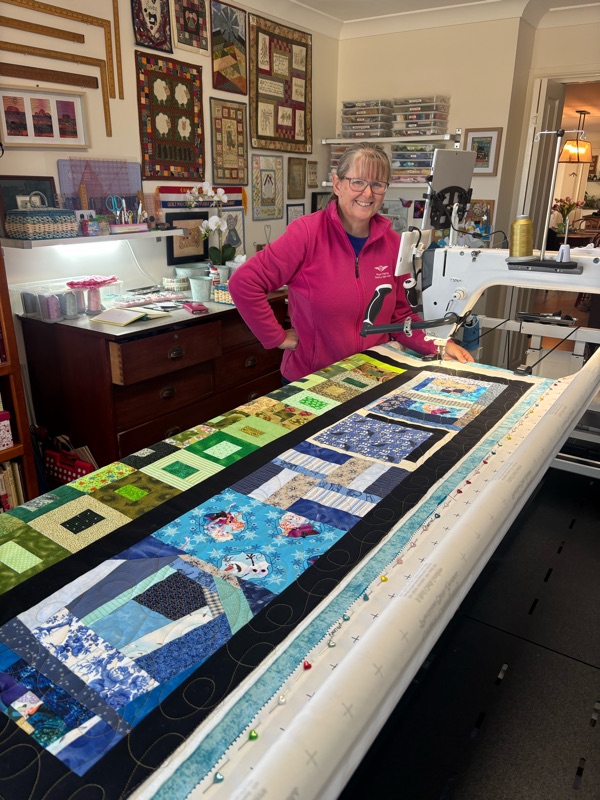
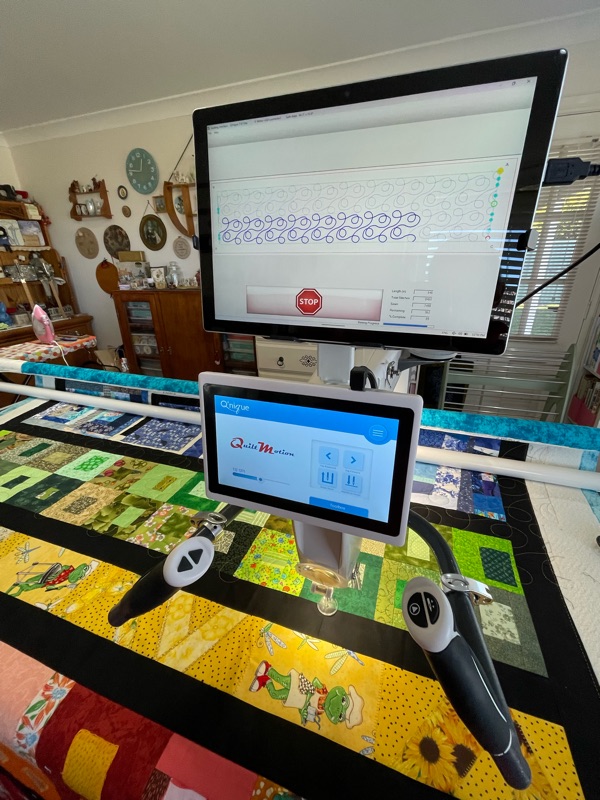
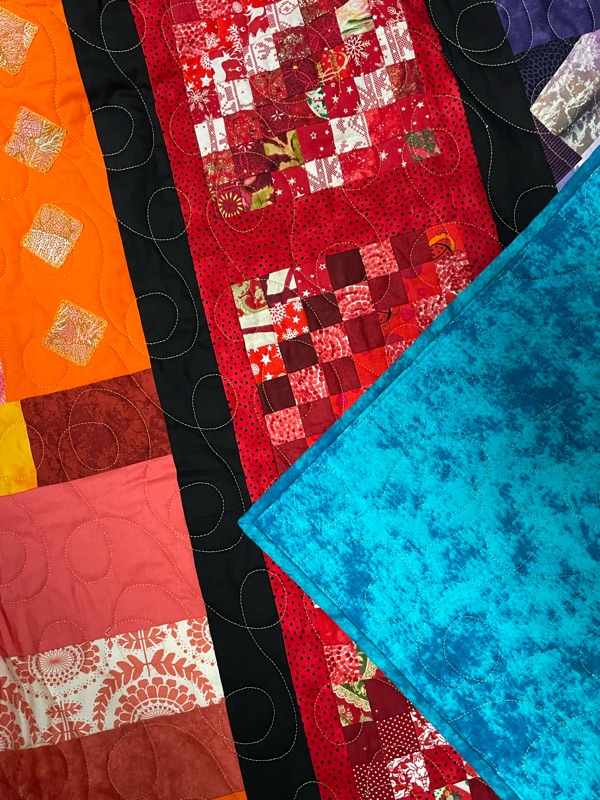
Instead of returning the quilt top to Betty for the girls down there to finish off, I have quilted and bound it here.  

I just used a gold thread for the quilting and a bright blue wideback for the backing and binding.

With Betty’s blessing, it will be donated to a local charity in Bathurst.

QUILT INFORMATION

Measurements -62" high x 64" wide

Pattern - None.  Rainbow strips for group quilts.

Fabrics - All from stash.  

Quilting Design - QCT6 - Loopmeander

Batting - Cotton/Poly

Backing - Wideback from Spotlight

Thread - Glide - Cleopatra

Saturday, 15 August 2026

Rainbow Scrap Challenge Complete for August.

The weather on Monday was rather feral, with the temperature only reaching about 6 degrees C and windy.  A good day to stay indoors and sew.

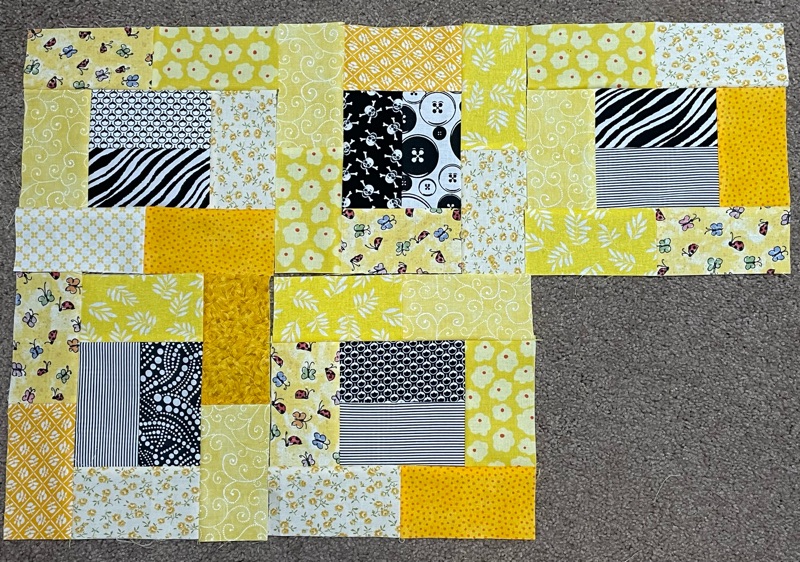
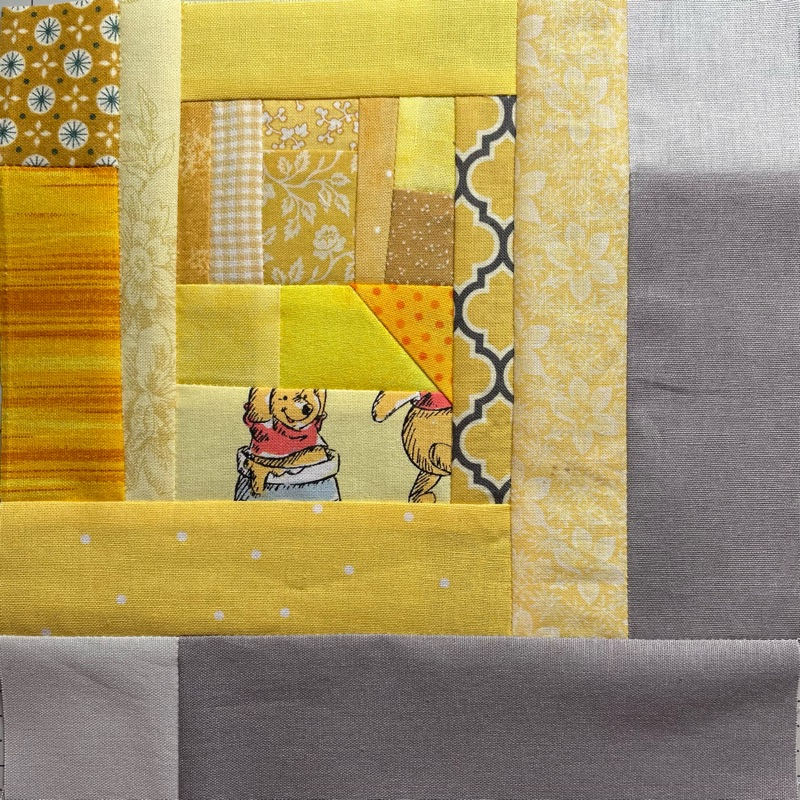
Therefore, I made the yellow RSC blocks for the month.
I only needed one crumb block, as I had made two yellow ones a couple of years ago.

It is good to be making progress.  Only two more colours before it is time to start putting the quilts together.  I do hope to have the three completed by the end of the year.

I have linked up with So Scrappy.

Monday, 27 July 2026

A Deceptively Difficult Block

This looks like a relatively simple block, doesn’t it.  Well, looks can be deceiving.  There are Y seams at each corner of the centre block that are a little very tricky to manage.

Susannah Twist was the block that Betty sent out for us to make this month.  The feature fabric is the one in the centre.

We were advised to make a test block first, so that is what I did.  Coincidentally, Brenda from Conquering Mount Scrapmore YouTube channel posted a tutorial for this block earlier in the month, so that did help a bit.  However, I still struggled.

The first decision to start with was what fabrics to use for the test block.  In the end that was easy.  I started tidying up my sewing room and recent scraps that had come my way when I came across this bright floral, which just happened to have the gold sitting next to it.  That worked.  Also, there were some orphan four patches in colours that matched, in the correct size.  Great, let’s unpick the centre seam and use them.  It was meant to be.

My first attempt was a dismal failure, due to me joining the corner sections without an overhang.  There was no way I was going to get points….unpick. 

Even after fixing that I still could not get points.  In the end, I drew the seam allowance on the back so I had reference points to match.  

Finally, a success.  I really like how it turned out.  Now I need to put my thinking cap on to find a way to use this pretty block.

OK, time to tackle the real block.  A hunt in the stash revealed suitable fabrics.  The same gold as in the test block worked well.  The brownish fabric is one of the first patchwork fabrics I ever bought and is featured in the wall hanging I made for my Dad that now hangs in my sewing room.  The blue for the corners came from who knows where.

This time I started out by marking all those seam allowances but still struggled with the centre points.  After only a couple of unpicking sessions, as opposed to about six, it is done, as good as I can get.  The sizing is just a tad under what it should be, but I’m sure it will be made to work.

Thanks Betty (I think…) for giving us a challenge and making our brains work.

Rainbow Scrap Challenge for July

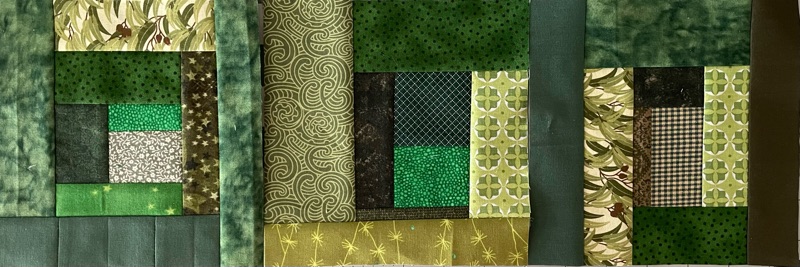
I have completed my blocks for this month.    The nominated colour was Aqua.  However, as I substituted Aqua for Pastel last month I had to make a second substitution.  The colour I had prepped was Dark Blue.  I suppose at least it is in the same colour family.  

Firstly, the Potato Chip Blocks.

Then the Crosses.

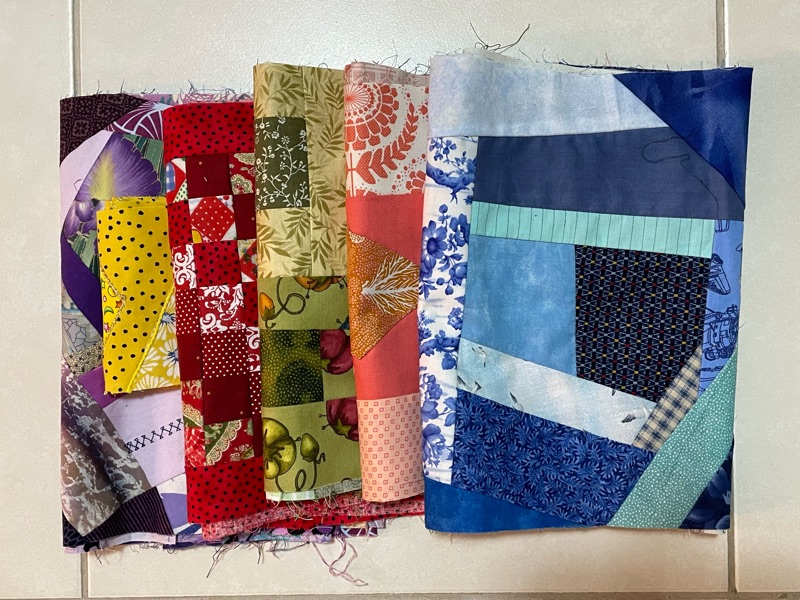
And finally, the crumb blocks.  I only needed to make two this month, as I had already made one previously.

It is fun to see these projects grow.  Now to see what next month’s colour is.  Hopefully, it will align with what I have prepped.

Sunday, 28 June 2026

Rainbow Scrap Challenge for June

The colour that was designated for June was not any one colour in particular, but “pastel”.  This posed a bit of a problem for me, as I have precut all my colours and there are no pastels.  I decided that the closest I have is Aqua.  That has now presented itself to be another problem, as the July colour has now been selected to be Aqua.  Oh well, I’ll just have to do another substitution next month as well.

As we would be travelling for much of the month, I had packed my precut blocks to take away with me and hopefully find time to set up my little machine and make them on the road and then just make the crumb blocks once we returned home.

The opportunity didn’t arrive until towards the end of our trip, when we camped at Cranky Rocks Nature Reserve, near Warialda in northern NSW, and decided to have an extra day there to be lazy.

I set myself up outside, with the company of the chooks that roamed around the campground.  A rather lovely setting.  My own version of the Chookshed.  If you know, you know.  LOL

Anyway, the solid crosses blocks and the black and white potato chip blocks were pieced while there.

Uploaded Image

Yesterday, I finally pieced the two crumb blocks that were needed.  I already had one I had made previously.

I have only four more colours to make before putting the quilt tops together and am very happy with how they are turning out.

I’m linking up with So Scrappy.

Wednesday, 13 May 2026

Rainbow Scrap Challenge for May

Surprisingly, I managed to get my orange RSC blocks completed for May.  
Uploaded Image
Uploaded Image
They all turned out well.
Uploaded Image
I doubted I would have enough orange scraps for the crumb blocks, but an injection of a scrap bag from our patchwork group added some small pieces to provide variety and job done.

Now to wait to see what colour is revealed for June.  I have packed the Pre-Cut colours for the potato chip block and the solid crosses blocks, together with my baby Stellar sewing machine for our trip, so with a bit of luck they will get completed while we are away.  I have also packed my completed crumb blocks and their shadows, so fingers crossed they may get added.  

I’ll be linking with https://superscrappy.blogspot.com/.

Friday, 20 March 2026

Making Progress - The Last Long Strips

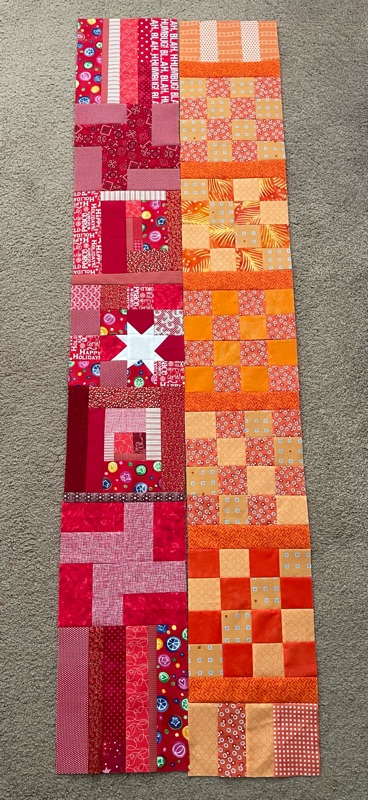
As part of the grand plan for March I wanted to make the final two coloured strips for Betty’s quilt.

First up, the red strip, which coincidentally is the RSC colour this month.  My red scrap box didn’t have a great deal that was usable for this. Therefore, I did have to use part of a couple of partial fat quarters for the windmill blocks, to go with binding scraps.  The wonky star was a challenge, as I’m not really good at wonky.  It was made with some white triangle offcuts that were lurking in another tub,  As you can see, nothing much gets chucked out here.

Next was the orange strip.  This really was a challenge, as I have even less orange scraps in the tub.  However, a couple of years ago I bought a pile of orange charm squares at the Sydney Quilt Show from The Sewing Box.  They have been so handy for scrappy projects and I used most of the remainder in this strip.  The orange dividing fabric was from a partial fat quarter.

I’m not sure what I will use for the orange crumb blocks when they come up in the RSC month.

Anyway, that is the final two strips that were required and I will deliver them to Betty at Scrub Stitchin’.

It has been a fun little exercise to put them together.

Sunday, 15 March 2026

That Wasn’t Expected

On Friday I realised that I had no hand stitching to work on at my stitching morning.  That’s not technically true, but there was none that I could work on for my projects that I am currently concentrating on.
Time to have a dig into the other projects and the one that surfaced was my Slow Stitching Pouch.  This was started back in June 2025.  You can read about it here.  I completed the slow stitching part in August, while up at Baradine.  You can read about that here.

I had left it at the stage of having to have a think about how to proceed.  That seems to be the theme of why things stall with me.  Anyway, I had stitched everything down onto a very light weight pellon and felt that the pouch would need more structure. 

This project was to be completely made by hand.  No sewing machine on this one.
Last month I had made a frankenbatting to use and I had previously selected a pretty fabric for the lining.  Time to lay it all out and work out how to join the layers together, as I felt they would be a bit loose otherwise.
I decided to use invisible stitching to attach the lining to the wadding and then flip it over and do the same from the front, as I didn’t want to detract from the stitching I had already done.  Looking at the above photo, the stitching really is invisible.  I fortunately had the perfect matching thread.
The pin is pointing to a stitch.  I just took a teensy weensy stitch and then threaded the needle through the middle of the layers as far as it would go, about two inches, before taking the next stitch. They were so hard to see that I actually sewed over them at a couple of spots.  

I had the lining and half the outer stitched down while at the stitching morning.  As I was enjoying myself so much, after lunch I set myself up on the back verandah and kept going.  The weather was perfect.  The sting has now gone out of the heat.

A lot of slow stitching projects have raw edges just whip stitched or blanket stitched, but I’m not really a fan of that style for me.
I had thought to bind the two short ends in different fabrics, but looking at the size of the lining, decided to just self bind by turning it under.  It worked well on the first end, with some additional running stitch for texture.
I then trimmed the sides of the piece and the other end………flush with the top.  Sometimes I really don’t know where my brain is.  Oh well, it looks like that end would be bound with a different fabric….back to Plan A.
I used the blue fabric I had originally thought of using.
Now to actually construct the pouch.  As this was to be completely constructed by hand, initially I just whip stitched the sides together.
Then I bound them.  Time to see what was lurking in the binding scraps tub.  There was one that would work quite well and there was enough for both sides……..except for 3 inches.  That would be right.  What else is there?  I found a scrap of a green fabric that I had used in the body of the pouch that would work OK, so I just added it onto the other binding. This was then added by hand and then slip stitched down.
Before long it was completed.
It is just the right size for an iPad, not that I need a pouch for my iPad.

Having said it is completed, I may add a little more to it at a later date.  I haven’t added any closure and the inside of the flap looks a little bare.  Maybe somewhere to put some needles if using as a project bag? 
 
I’ll mull over it for a while. It is  “slow” stitching after all.

Monday, 9 March 2026

A Quilt in a Day

Before I go ahead and quilt any more of my good quilts I needed to have a bit more of a play with Elly May.  The software has several levels and so far I’ve only used the basic one.  The design I want to use next is only available on the higher versions, so it was time to have a practise.    


I also wanted to try using the Super Glide foot.  It worked well.

To that end, I wanted to make a very simple donation baby quilt.  Surely, I could do that in a day. 

Saturday was the day.

I had pulled some fabrics ready for this, but on Wednesday, at our patchwork group, there was a big tub of fabric that had been given to us.  Quite a bit came home with me, not that I need any fabric, but there are quite a few scraps that will work for I Spy quilt.  I need to get cutting.  I digress.

Anyway, back to my quilt….. there was a cute fabric with just the right amount to make a version of the quilt I had in mind, and there was already one strip cut off the fabric.  I just cut another strip the same size and added some bits from stash in between.

It was pieced while chatting away on Zoom with Chooky and co.

After lunch, I loaded it on Elly May, using some flannelette from stash and an off cut of batting that was the perfect size. It was all falling into place nicely.
I used the quilting design I want to use on the next couple of quilts to check the scale and everything went really well.  A very happy result.
It wasn’t long before I had it trimmed down and the binding added by machine.
Yay!  A quilt in a day.  I really like it.  Sometimes simplest is the best. I can see me making more of these simple quilts for donation and a bit of fun.
I’ll be happy to take the finished quilt along for show and tell next Wednesday to show that I do use some of the fabrics that come to me.

QUILT INFORMATION

Measurements - 47" high x 34" wide

Pattern - Quicker Strippie - a free pattern from Mary Quilts  

Fabrics - Donated feature fabric and stash

Quilting Design - Water Flow by Leah Day

Batting - Cotton/Polyester

Backing - Flannelette from Spotlight in stash

Thread - Glide Steel Blue

Of course, there has to be a quilt holder upperer photo.