A few months ago I brought Mum’s knitting needles and crochet hooks home, as she no longer uses them. They have sat in a plastic bag on my sewing room floor ever since. Pretty slack, aren’t I. Anyway, yesterday I decide to finally put them away.
I set myself up on the ironing board to sort out the crochet hooks, circular needles and double pointed needles. They were stored in these pretty Cadbury tins. Sadly, it turned out that the larger tin was rusty on the bottom of the inside and so were some of the needles. After throwing out the damaged things everything else needed a good wipe down. I was going to throw the tin, but Mick suggested that, after a good clean out, I just line it with felt. As he often tells me, he comes up some good ideas.
Why am I telling this tale? Because, as a result of this occurring on my ironing board, there was rust all over the cover. Not ideal for doing the ironing, which was waiting to be done. OK, let’s wash the cover.
However, looking at it, I thought it was actually time to retire it.
I made this cover back in 2019. Pop over and have a read. I made a second one at the time, so I would just get it out and use it……..except I have obviously put it in a very safe place…..which I cannot find at the minute! Blast! On to Plan B - the unexpected bit.
Earlier this year I found this fabric on special and thought it would be good for the next ironing board cover I would make. Not a lot of pink and aqua, as in my sewing room, but still a bit and hexies won the day.
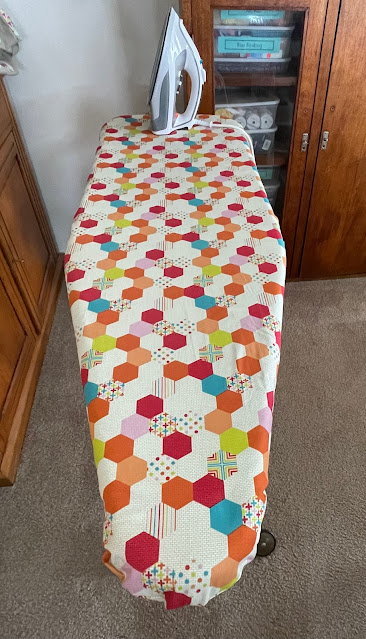
That looks a bit better. This design works really well as it is nicely fitted over the pointy end of the board.
I wrote a bit about the process last time, so this time I made some better notes. It would have been smart to pop over and read my old post before starting on this version, but it still worked out OK. The beauty is that it doesn’t have to be perfect, as you can’t see underneath.
So here is what I did.
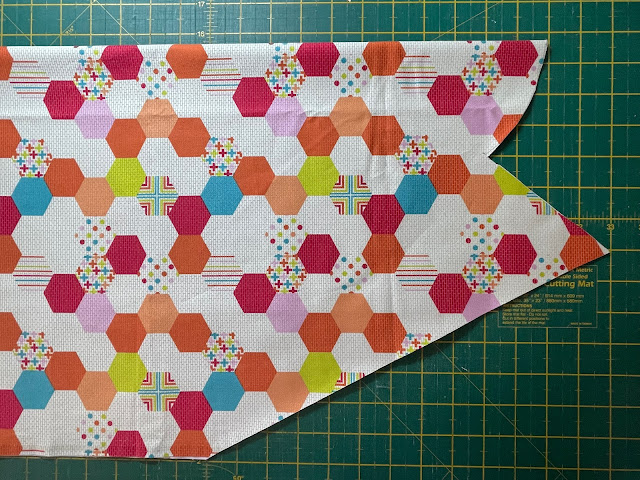
Like last time, I used my old one as a template.
I even drew the shape you have to cut for future reference. I reused the elastic from last time, which I think came from the one before. It is starting to lose some stretch.
The bottom bit is easier cut when folded. If I had read my earlier post I would have cut the short straight section as a curve, but I was still able to make it work.
Overlock/zig zag all raw edges.
Turn under 1” on long sides and straight end. Stitch to make a casing, easing around the curves.
Thread the elastic in the casing, securing at each end with a zig zag. (You may have to adjust it at the end if it is a bit too long.)
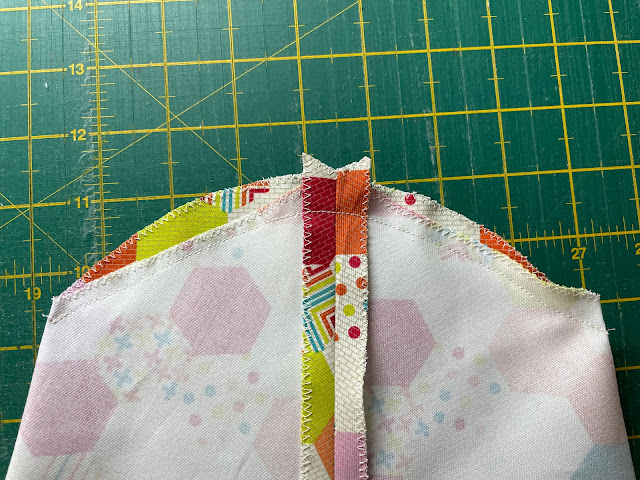
Join the two longer diagonals together with a 1/2” seam. Press open.
Join the short diagonal curves with the centre curve.
Turn out and place on the ironing board.
Job done. It doesn’t take very long and makes the ironing board look so much better. Hopefully, I will find the other one I made and put it somewhere I will remember for future use.
As I said, not what was expected today.


Great job Janice
ReplyDeleteSuch pretty fabric for your new ironing board cover.
ReplyDeleteOne thing leads to another to another to another...!! Perfect fabric for your new cover Janice,
ReplyDeleteGreat new hexagon board cover...
ReplyDeleteHugz
Perfect fabric for an ironing board cover, well done Janice
ReplyDeleteAnd very nice too.
ReplyDeleteImpromptu plans are often the best.
ReplyDeleteThat lovely cover will make a boring chore all the more enjoyable.
ReplyDeleteMust have mussed this post before we left. It looked good. Take care & hugs.
ReplyDeleteWell done Janice, great new ironing board cover.
ReplyDeleteYou did such a nice and detailed job on the ironing board cover. I shouldn't admit this, but mine is duct taped to the bottom. That is so rustic compared to your careful planning and sewing.
ReplyDelete